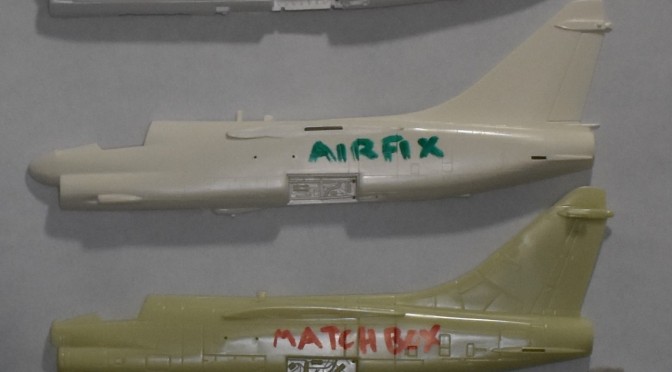
I ‘built’ a collection of 1:48 scale Ling Temco Vought A-7 Corsair 2s. Time to compare them, as a lot of kit bashers always want to know which is the best, or at least which looks the best out of the box.
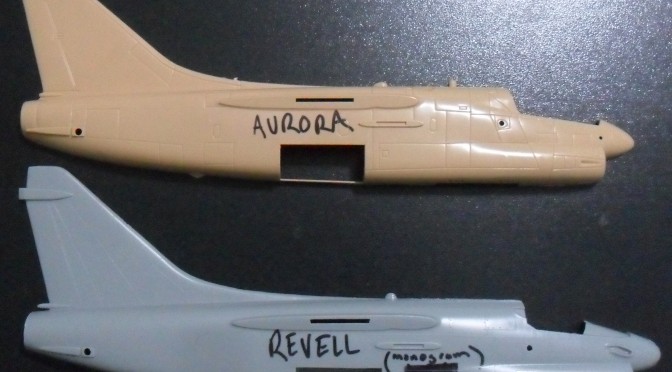
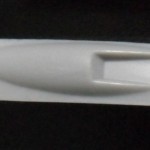
The first 1:48 A-7 was the old 1969 issue Aurora kit. It was marketed as a D version, but is actually an A/B/C version. The main difference is that the A/B/C versions had two single barrel Colt Mark 12 20mm guns firing through troughs on either side of the air intake. D and E versions had a single six barreled M61 20mm Vulcan gun on the left (port) side. The Aurora kit has two gun troughs on either side of the air intake, making it an A, B or C version.
Click the pics to make bigger
- Monogram supposedly re-tooled the Aurora kit.
- The Monogram re-tool resulted in a longer fuselage.
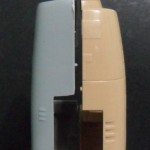
- The Monogram kit is also slightly larger in cross section.
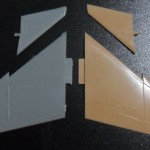
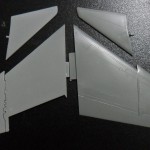
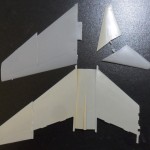
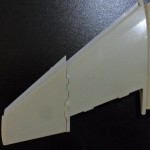
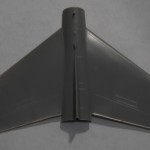
- The Monogram wing (the one underneath the tan wing) also got longer in span.
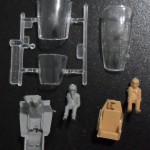
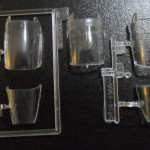
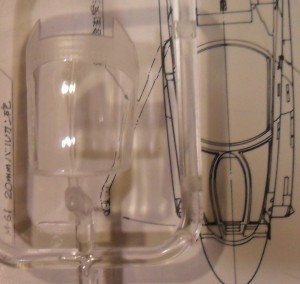
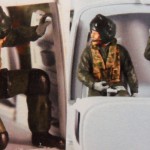
- Monogram gives us more detail in the cockpit, but for some reason the canopy got really fat.
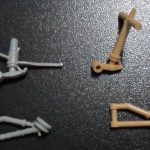
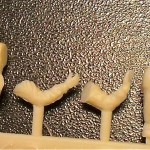
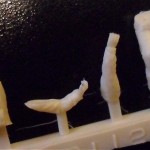
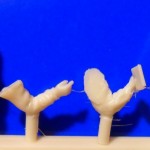
- Aurora’s legs are down right ugly, but Mongram’s aren’t great, either.
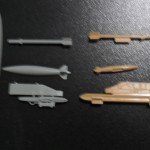
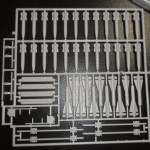
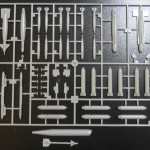
- Pathetic weaponry. At least Monogram gives you decent looking pylon-ejector racks and external fuel tanks.
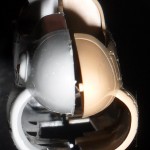
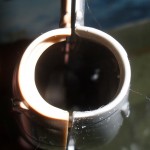
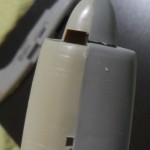
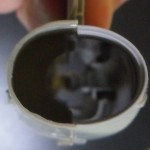
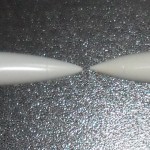
- Note how round the Aurora tailpipe is.
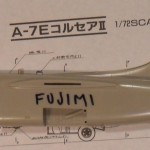
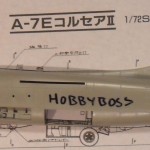
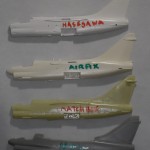
The old kit is interesting in that it has recessed panel lines (Matchbox ‘trench’ style), something unique for a 1960s kit. Other than the recessed surface details the kit is basically a toy. There are very little details anywhere else and the landing gear and ordinance are pathetic. I do not have 1:48 scale drawings of the A-7, so the best I can do is compare the kits and make judgments based on the 1:72 scale drawings I have. The Aurora kit is mentioned because the next 1:48 scale A-7 kit to be issued came from Monogram, and supposedly evolved from the Aurora kit.
In 1976-77 Aurora went out of business and sold-off its kit molds. Monogram bought most of the molds. Reports say Monogram re-tooled the Aurora A-7, if this is true they did a crappy job (compared to the ground breaking kits they issued in the mid 1970s-early 80s). It is currently issued by Revell U.S.A. (do not confuse it with the recent A-7 issued by Revell Germany, which is a re-boxing of Hasegawa’s A-7).
Monogram made some major changes, which resulted in raised panel lines and a longer fuselage. The wing span is also longer. The most ugly change was the widening of the cockpit area, the canopy is not only bigger than the original Aurora canopy, it’s the biggest of all the kits I compare. The ordinance is no better than Aurora’s but at least you get big external fuel tanks. At least Monogram made the tailpipe more oval, as Aurora’s is round.
Monogram did market it as an A-7A. So far Hobby Boss is the only other kit maker to issue an A-7A Corsair 2. The Monogram-Revell kit is a crappy kit, and I’m surprised by how much the original Monogram issue kit sells for on the internet. I’m also surprised Revell U.S.A. re-issued the thing, especially when Revell Germany sells the Hasegawa kit (unfortunately, I’ve discovered that sometimes Revell-Germany also issued the old Monogram kit).
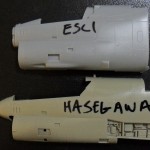
Close on the heels of the Monogram issue came Italy’s ESCI A-7D/E versions. I read many posts saying how bad the ESCI kit is, but in my opinion it’s still better (in some ways) than the Monogram/Aurora kits.
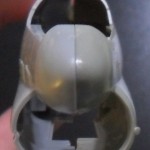
- ESCI’s fuselage is molded in 4 parts.
- ESCI’s air intake sits farther back.
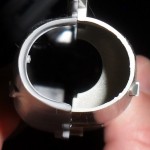
- Note how round the ESCI air intake is.
- The position of the elevator on ESCI’s kit is higher up than the Revell-Monogram kit.
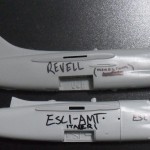
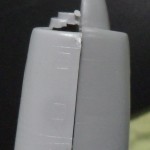
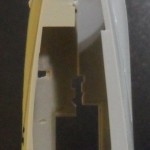
- ESCI multi-part fuselage reveals a problem caused by size difference. Did ESCI cast it this way because they were planning a TwoSair version?
- The instructions in the AMT issue calls this a “missile launch rail”!
- AMT’s instructions would have you mount this even when building the A-7E version.
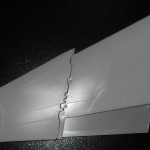
- At least ESCI gives you separately molded wing tips and flaps.
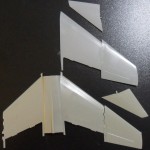
- The Revell-Monogram (on the bottom) wing is still longer.
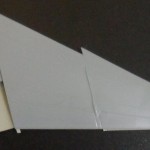
- The ESCI elevators are slightly narrower and more pointy at the tips than Revell-Monogram’s.
- Finally some decent looking ordinance. Don’t look at the ‘ejector racks’, no, don’t look at them!
AMT has re-issued the kit after ESCI went bust. AMT’s instructions call the U.S. Navy refueling probe a “missile launch rail”. Also, the kit I have is supposed to be a USN A-7E yet the instructions have you mount the USAF A-7D refueling receptacle on top of the fuselage anyway.
The kit has some good points like a long intake trunk, the onboard boarding ladder, a separately molded radome, separately molded folding wing tips and some okay looking ECM pods, Snakeye bombs and Maverick missiles.
Some of the bad points are lack of cockpit/wheel well details, the fuselage is molded in four parts with the forward parts being slightly larger in diameter from the rear parts, and incredibly bad ordnance ‘ejector racks’ which look like sticks of plastic.
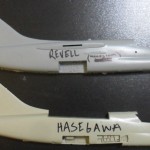
Compared to the Revell-Monogram kit the ESCI fuselage seems the same length, but the ESCI intake lip is further back from the Revell-Monogram kit (I line up the fuselages at the tailpipe end). The ESCI intake is too round. From the rear, the tailpipes are similar in shape, but the ESCI elevator location is higher up on the fuselage. The Revell-Monogram main wing and elevators are slightly larger than the ESCI kit, with the ESCI elevators too narrow at the tips.
Finally, in the 1990s Japan’s Hasegawa issued a 1:48 A-7D and E Corsair 2. Out of the box it’s the best yet, with good looking shapes, recessed panel lines, exposed avionics bays, boarding ladder, intake trunk, some cockpit and wheel well details, separately molded wing tips, flaps and slats, nice looking Sidewinder missiles and even a separately molded air (speed) brake (which can only be posed in the extended position if you model the plane in-flight with wheels up).
- Both ESCI & Hasegawa give the option of displaying the built in boarding ladder and steps.
- The Hasegawa 1990s issue is still the answer to A-7 lover’s prayers!
- Hasegawa’s fuselage is slightly shorter than Revell-Monogram’s, but who’s correct?
- Hasegawa’s tailpipe is similar in shape to Revell-Monogram’s, but is larger in diameter. Also, note that Hasegawa’s elevator locator position is higher up, just like the ESCI kit.
- Hasegawa gives you separately molded wing fold tips, flaps and slats.
- Hasegawa’s wing span is longer than Revell-Monogram’s.
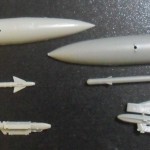
- Hasegawa failed to bomb up their kit, but gives us awesome Sidewinders. The Hasegawa external tanks are skinnier than Revell-Monogram’s.
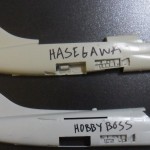
I compared it to the Revell-Monogram kit, which has a slightly longer fuselage. From the rear the tail pipes are similar in shape, but the Hasegawa’s is larger and, like the ESCI kit, the position of the elevators are higher up on the fuselage. The main wing span is longer than Revell-Monogram’s, but the folding wing area is smaller than Revell-Monogram’s. The elevators are similar. The Hasegawa external fuel tank is the same length but skinnier. The downside is Hasegawa does not provide bombs or other ground attack ordinance and, as usual, Hasegawa’s decal color register is off (the only time they get it right is when they subcontract with aftermarket decal printers).
In 2009 China’s Hobby Boss issued a new series of A-7 Corsair 2s, including an A-7A. Out of the box it looks great, until you spend more time looking it over.
- Out-o-the box the Hobby Boss looks loaded with details, but….
- …the Hobby Boss fuselage is longer….
- …and the nose is skinnier.
- The Hobby Boss tailpipe is squatier. (squatier? more squat)
- No folding wing tips with Hobby Boss.
- The Hobby Boss main wing span is slighlty shorter, but the ‘chord’ is much, much wider than Hasegawa’s.
- Hasegawa (smallest) on the left, Hobby Boss in the middle, Revell-Monogram (biggest) on the right.
- The Hobby Boss external fuel tank is anorexic.
- You get a lot of ordinance, and a FLIR, but the Mark 82s are questionable.
The fuselage is the longest, with a skinny nose/radome, and the most oval shaped (and skinny) tailpipe of all the kits. The main wing does not have a folding section, is shorter in span than the Hasegawa kit yet much wider. This is interesting because the Hobby Boss 1:72 scale A-7 wing matches the scale drawings I compared it to.
The external fuel tank is longer and skinnier than the Hasegawa kit. The canopy size lies in between the Hasegawa and Revell-Monogram kits. The Hobby Boss kit does have nice looking ordinance including FLIR pods, but the Mark 82s are too skinny.
As far as surface details (panel lines) all the kits are different. I’ve read that some of the Hobby Boss surface details for the A-7A are in the wrong location and are more accurate for later versions of the Corsair 2. Apparently the two gun troughs are the only surface detail that matches an A-7A.
It looks like the Hasegawa kit is still the overall best 1:48 scale A-7 Corsair kit available.
USAF A-7 CORSAIRS, WHATEVER HAPPENED TO?
1/72 scale A-7 Corsair 2 comparison: Fujimi, ESCI, Airfix & Hobby Boss
 1:72 F-100 SUPER SABER KIT KLASH, OR MORE REASONS WHY YOU CAN’T TRUST SCALE DRAWINGS
